Get creative and organized with this fun project
The holidays are over and the winter is well and truly here… for a while, a long while, if you live in New England – it will be here until May – ugh. It is the time of year when I inevitably wonder why I live in the Northeast? What is wrong with me? I think about moving from about January 15 until April 1. Then the spring arrives and all is right with the world again. Until that magical moment in April, I hunker down and immerse myself in cozy, life improving activities. I read books that motivate me to be a better person, I rearrange my furniture, clean out my closets, cook (gain weight) and try my hand at all manner of crafts and projects.
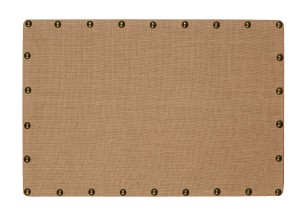
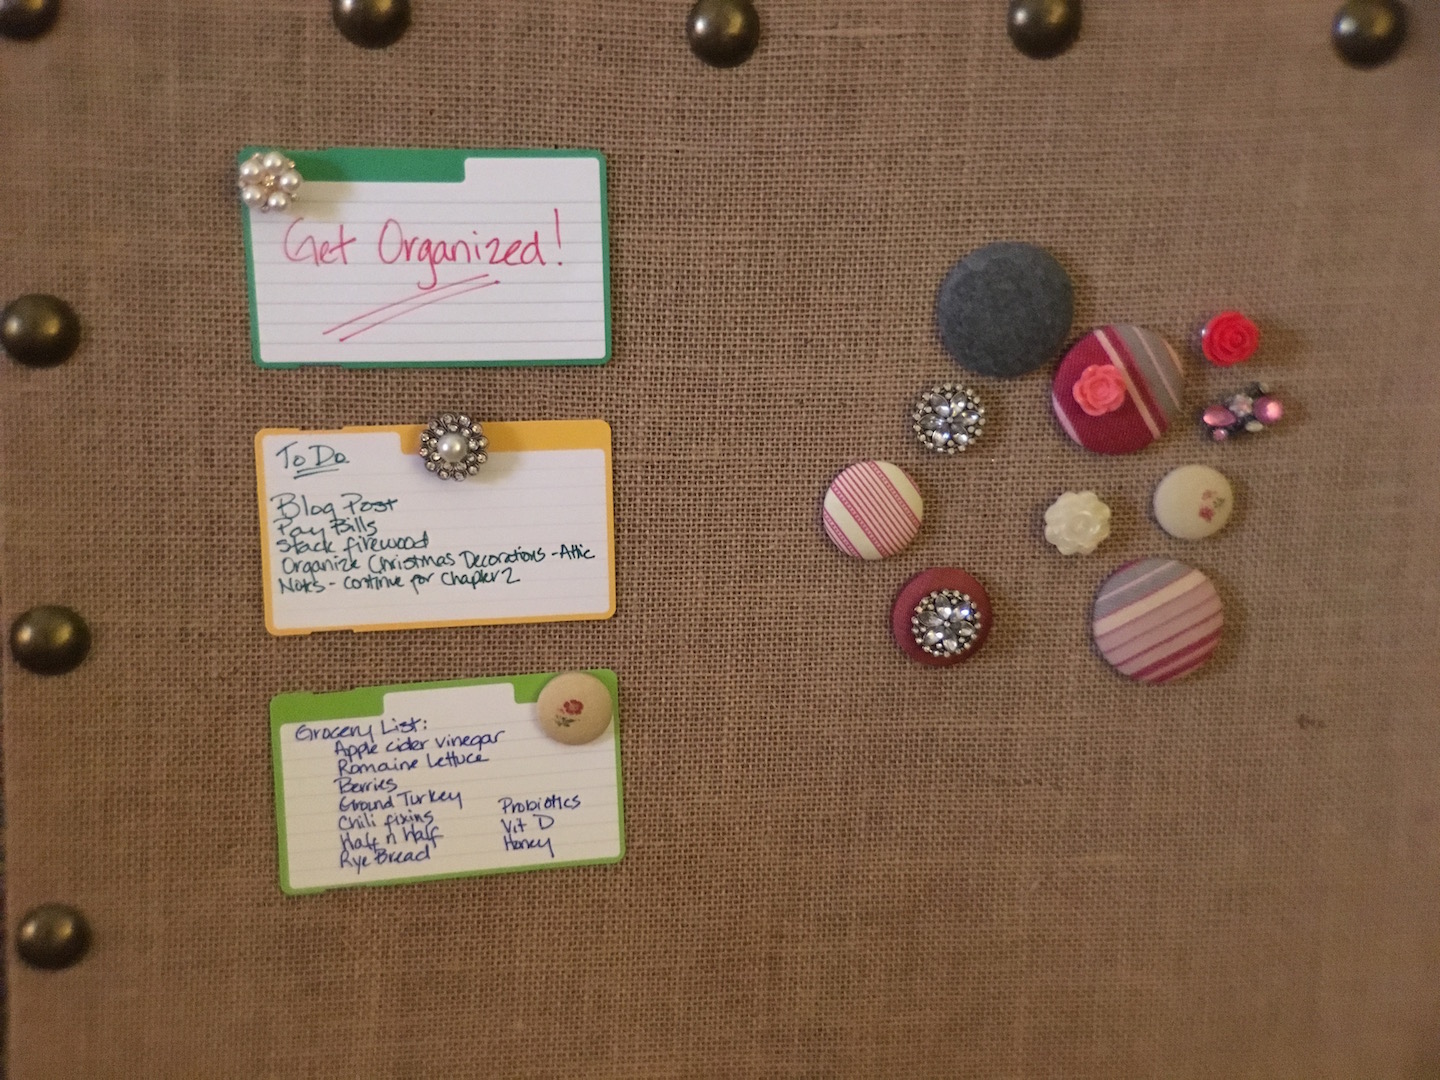
I have developed a love for the burlap covered bulletin board. I ordered a giant sized board from Ballard Designs (about 60″ x 36″) that has antiqued brass upholstery tacks around the edges. I decided that I would make my own decorative push-pins (because I can’t just have plain old push pins – that would be a boring shame). This project has kept me amused, provided fun holiday gifts for friends and helped me organize my bulletin board life. It has also given me a fun creative outlet to busy my brain so I can come back to work more refreshed and with new ideas. Sometimes distracting your brain is the best way to come up with a new idea.
I use my pin board for my to-do lists, blog post ideas, menu ideas, grocery list, photos, coupons, work project layout – I am in love with my pin board!
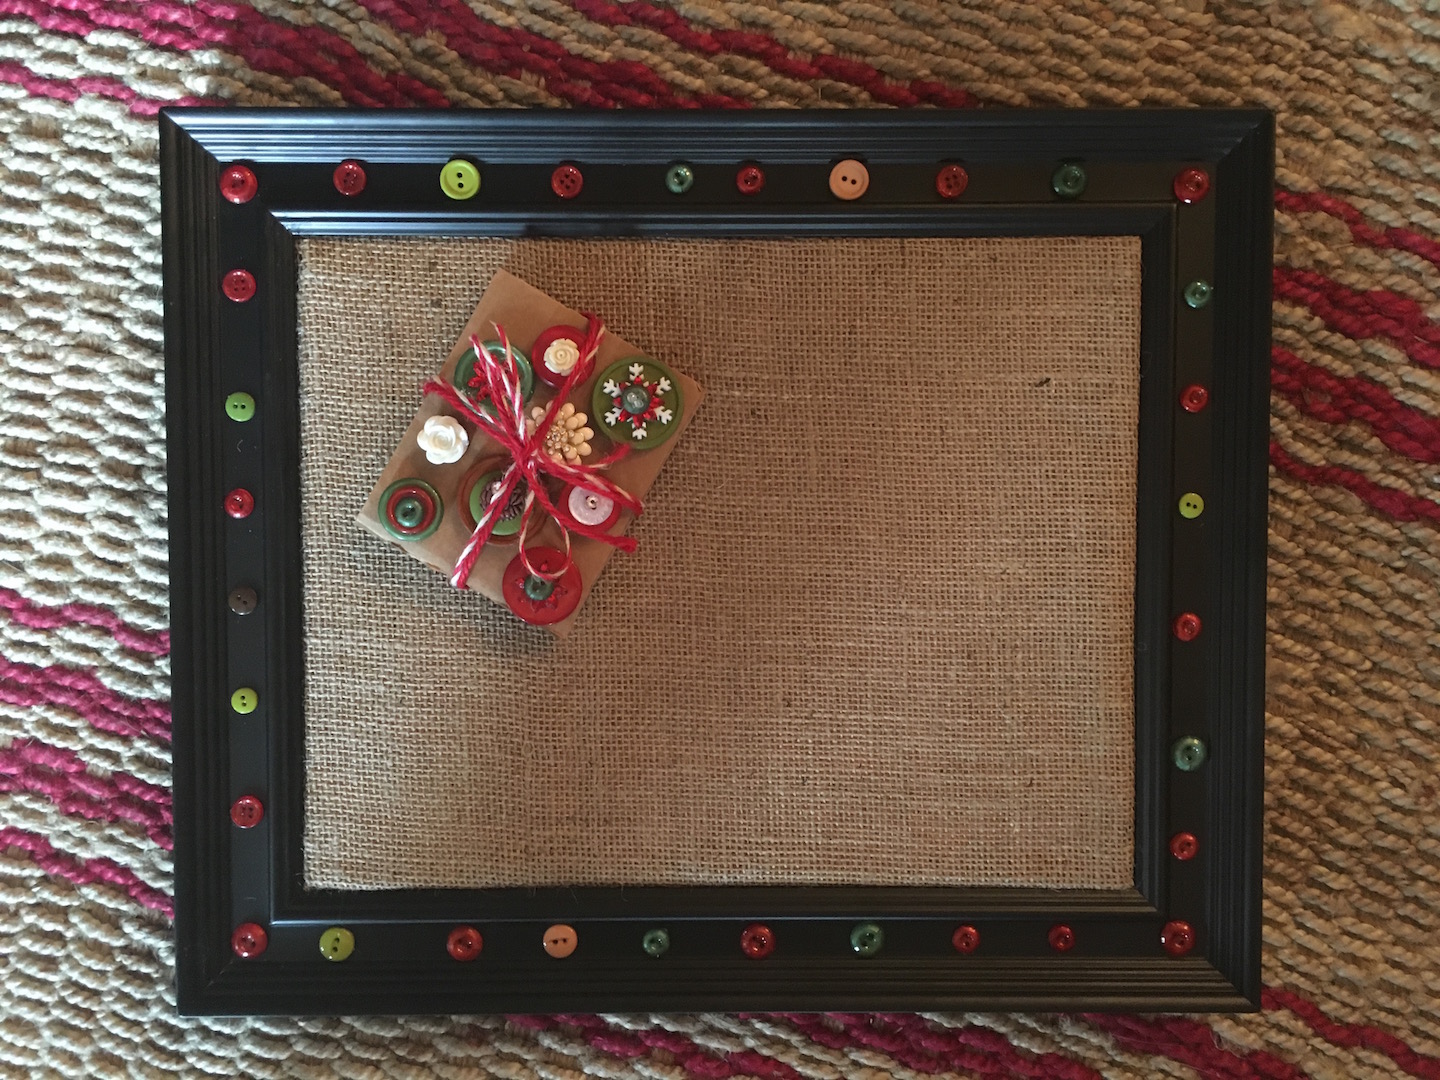
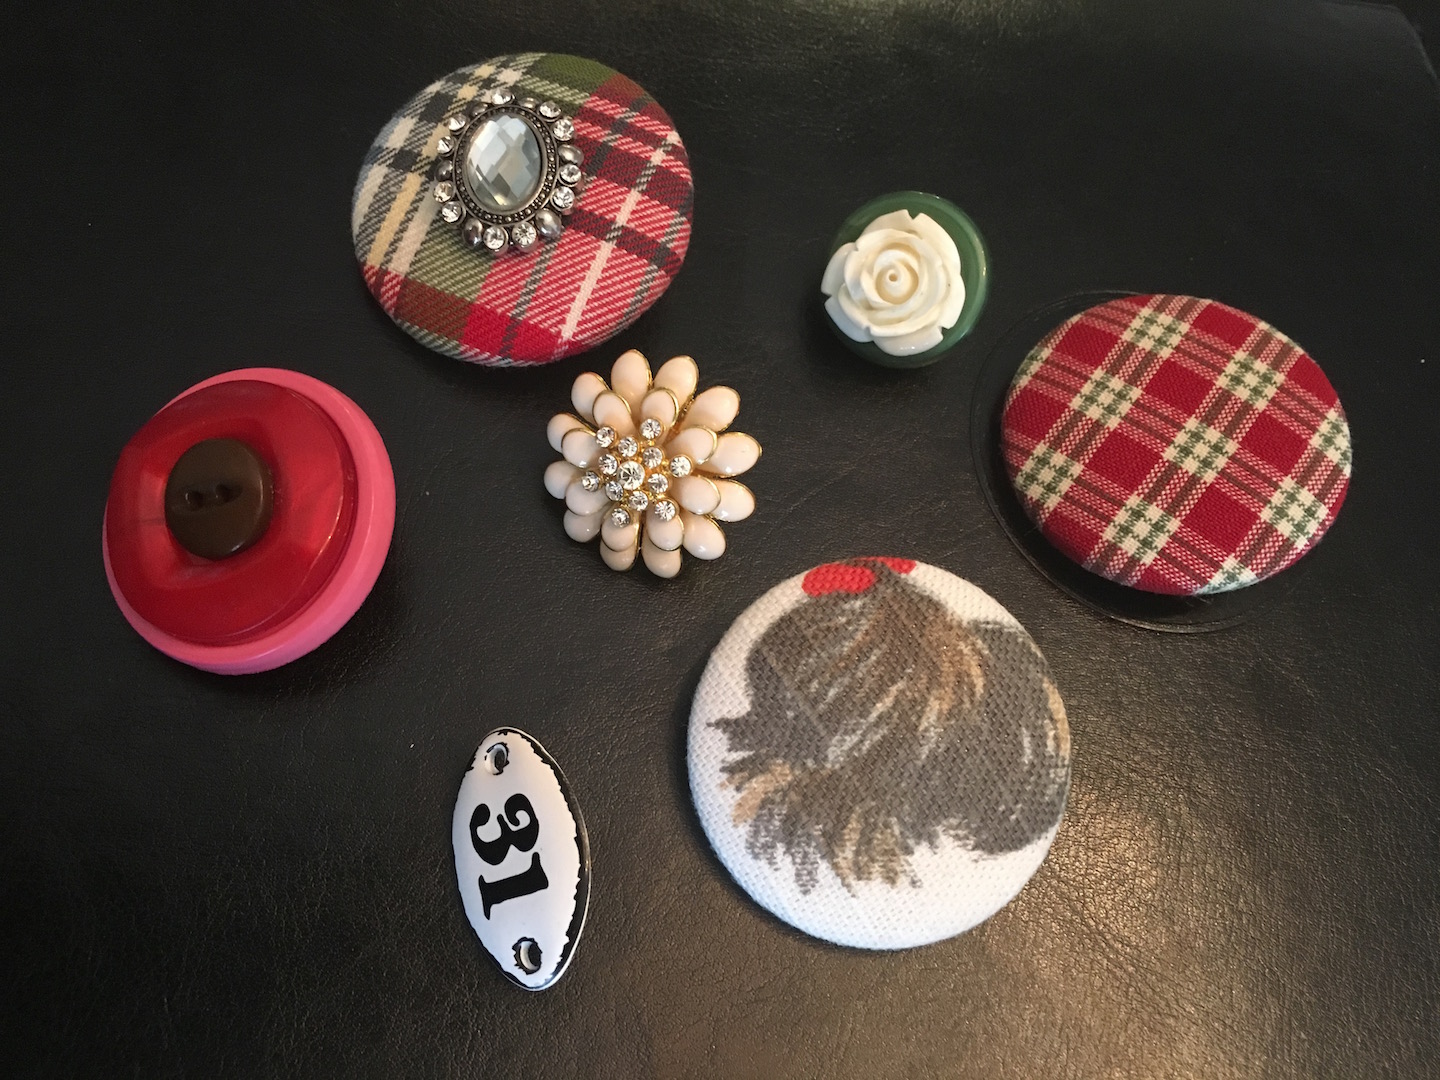
To the left are some push pins that I made for holiday gifts for friends. I also made some burlap covered bulletin boards using picture frames. You can also get some good pre-made burlap covered pin boards in various sizes from Amazon.
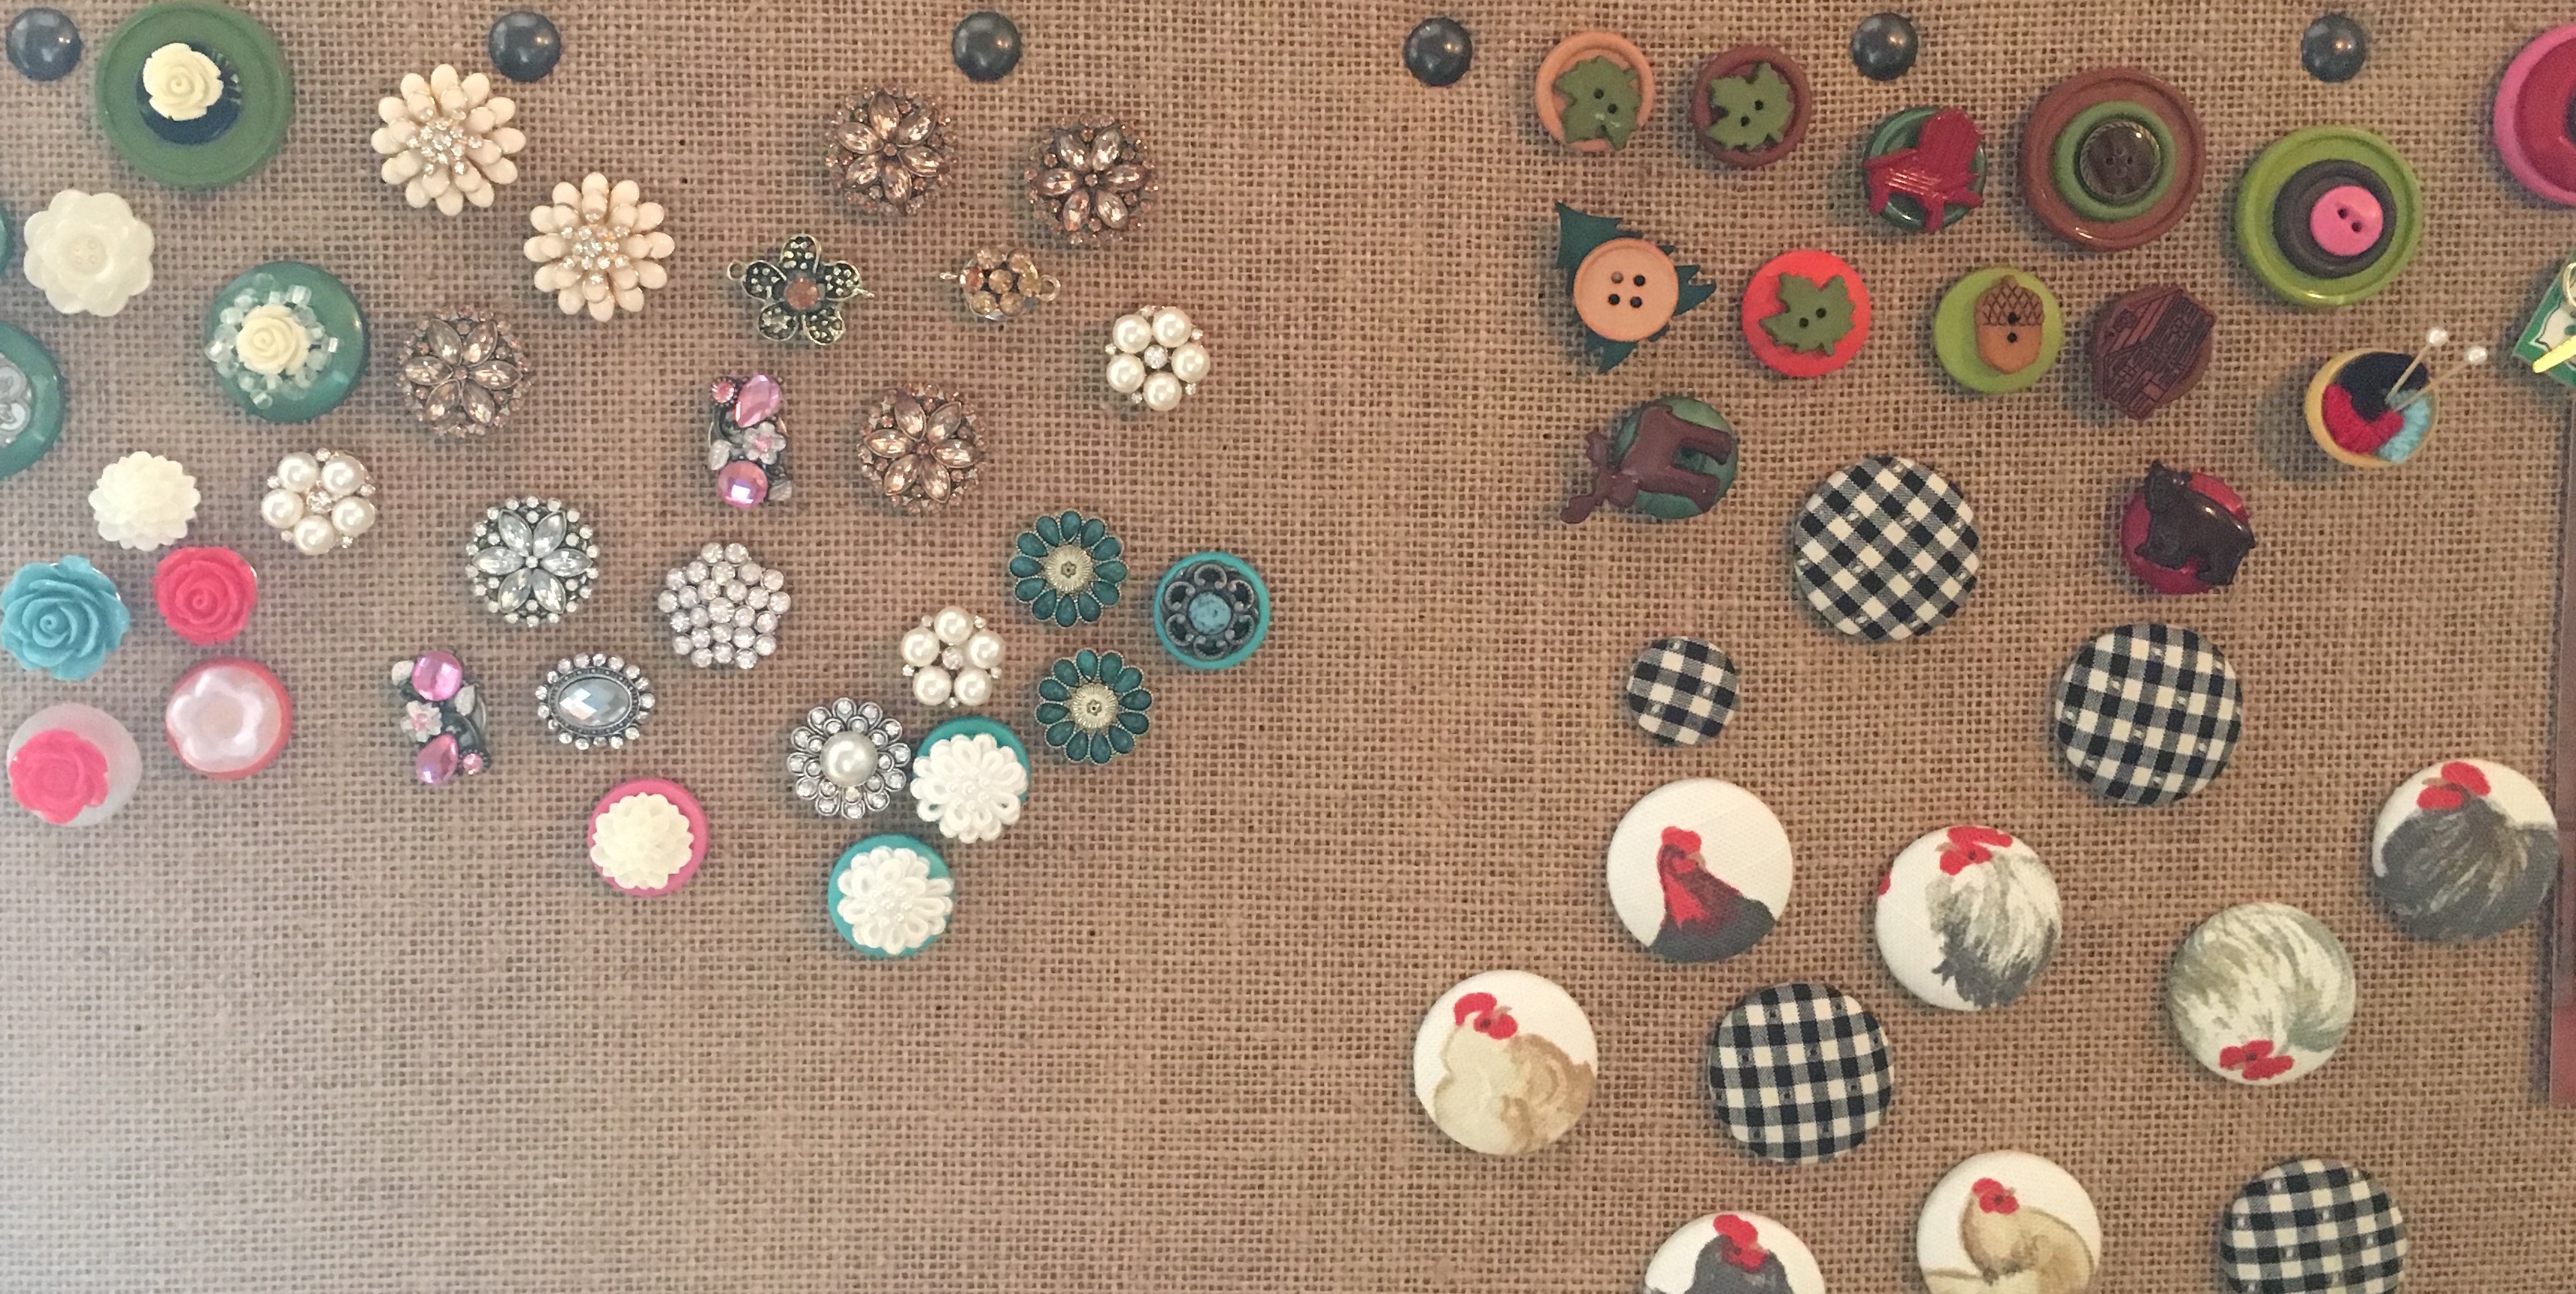
If you are interested in jumping in and making your own push pins – here are some helpful tips and photos:
List Of Supplies for Push Pin
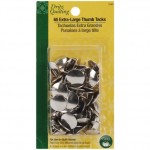
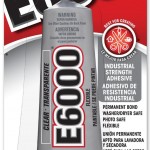
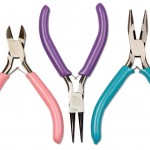
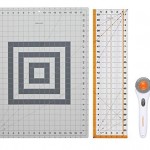
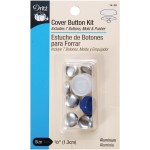
Dritz XL Quilting Tacks, E6000 Craft Adhesive (slow to dry but very durable), Pliers, Cutting Mat, Fabric Button Making Kit, Burlap Covered Pin Board Also Check out ButtonBiz if you want button making supplies in bulk – they are really friendly, have great product (including a well priced intro pack to get you started) and are great to deal with.
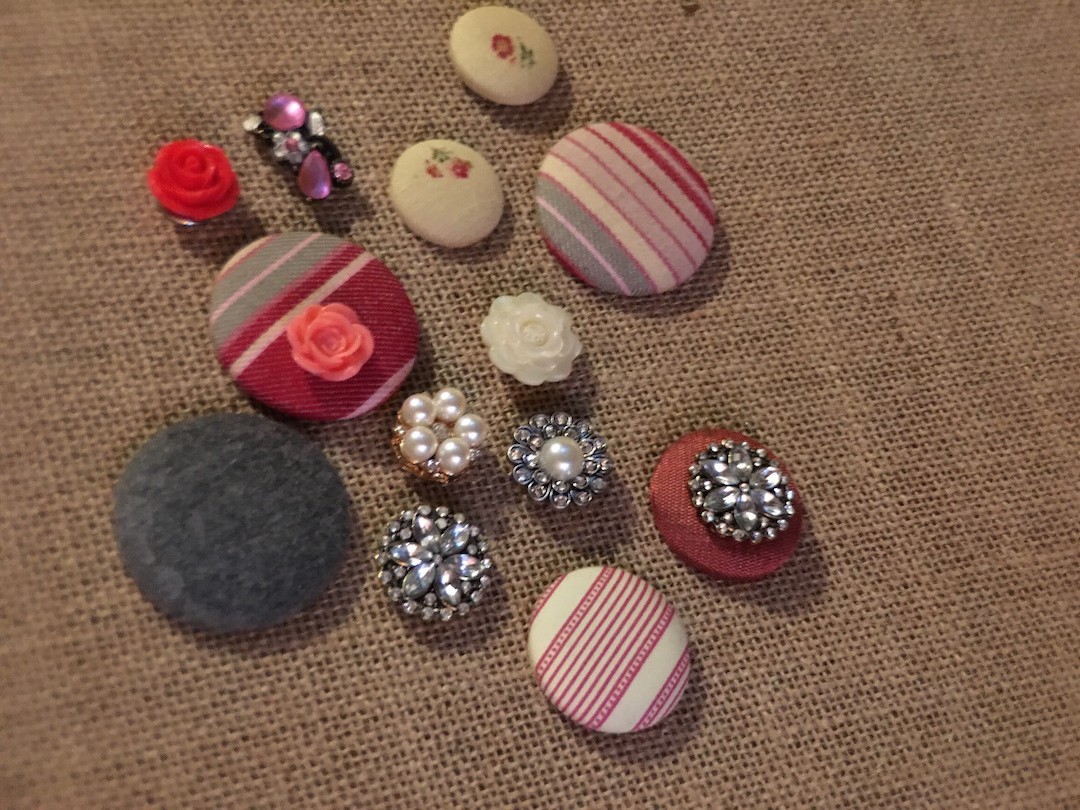
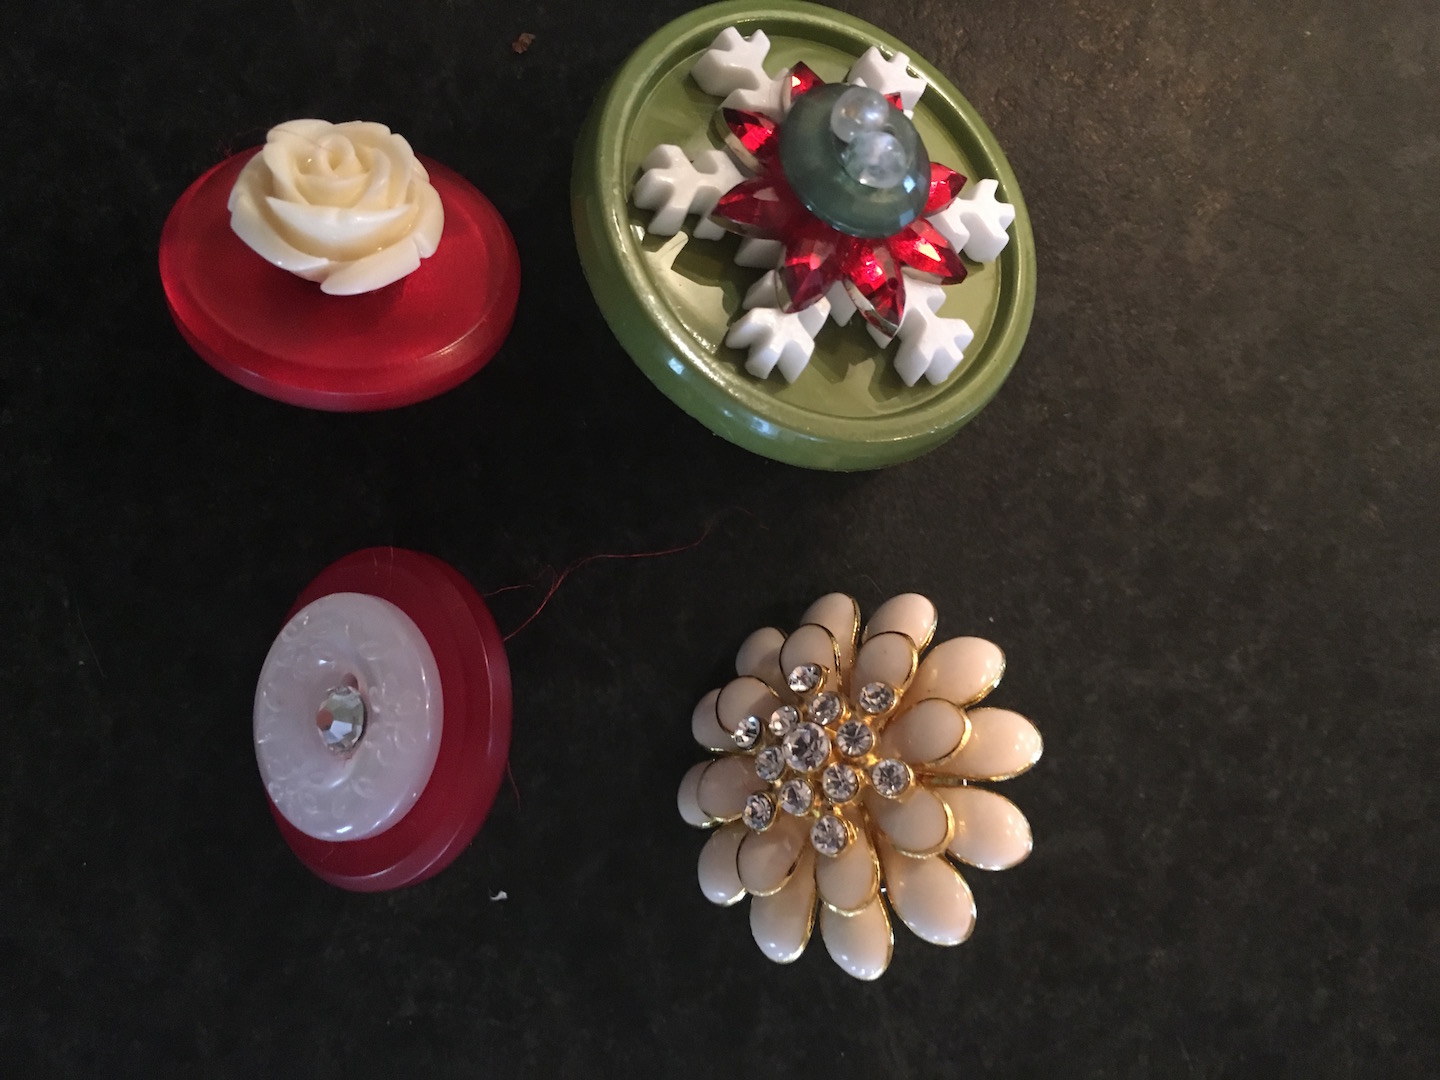
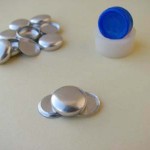
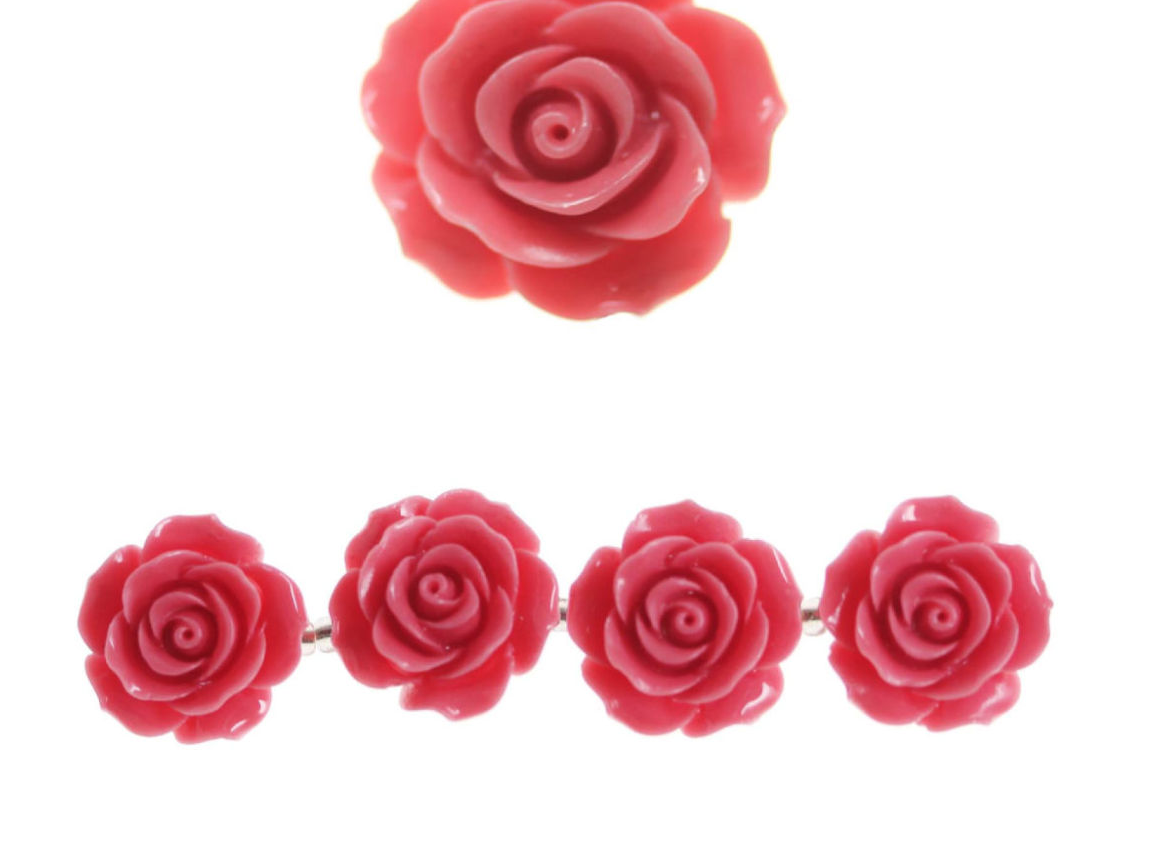
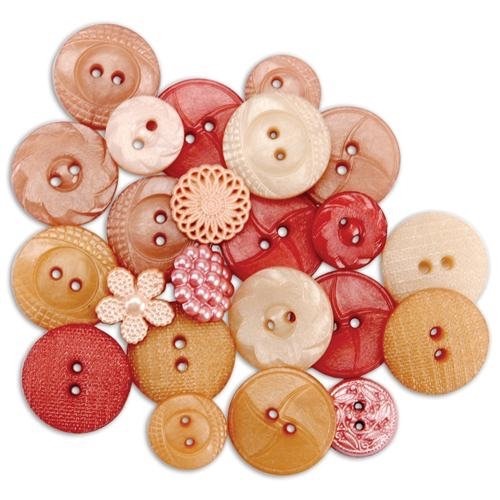
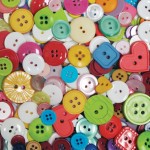
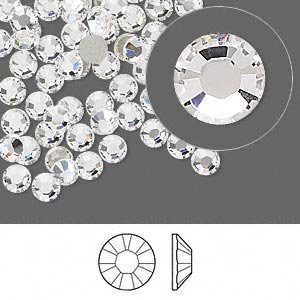
Then the fun stuff – Whatever “Bling” you want to put on your pins – crystals, buttons, pieces of jewelry or any vintage doo-dads that you can glue to a tack. Feel free to layer as you go to embellish your push pins. A fun option is to cover a button with fabric (see fabric button kit in above supply list) and then embellish the fabric base that you create.

A few tips: Once you glue your tack to your decorative button/base, try not to be impatient. Let it dry completely before you use it and I often had to let things dry overnight before layering other “bling” on top.
The adhesive is very sticky and smelly – crack a window and wear some latex gloves – Yes, I did, briefly, stick my fingers together .
Fabric buttons do not require any glue unless you are gluing some sort of bling on top of the fabric layer.
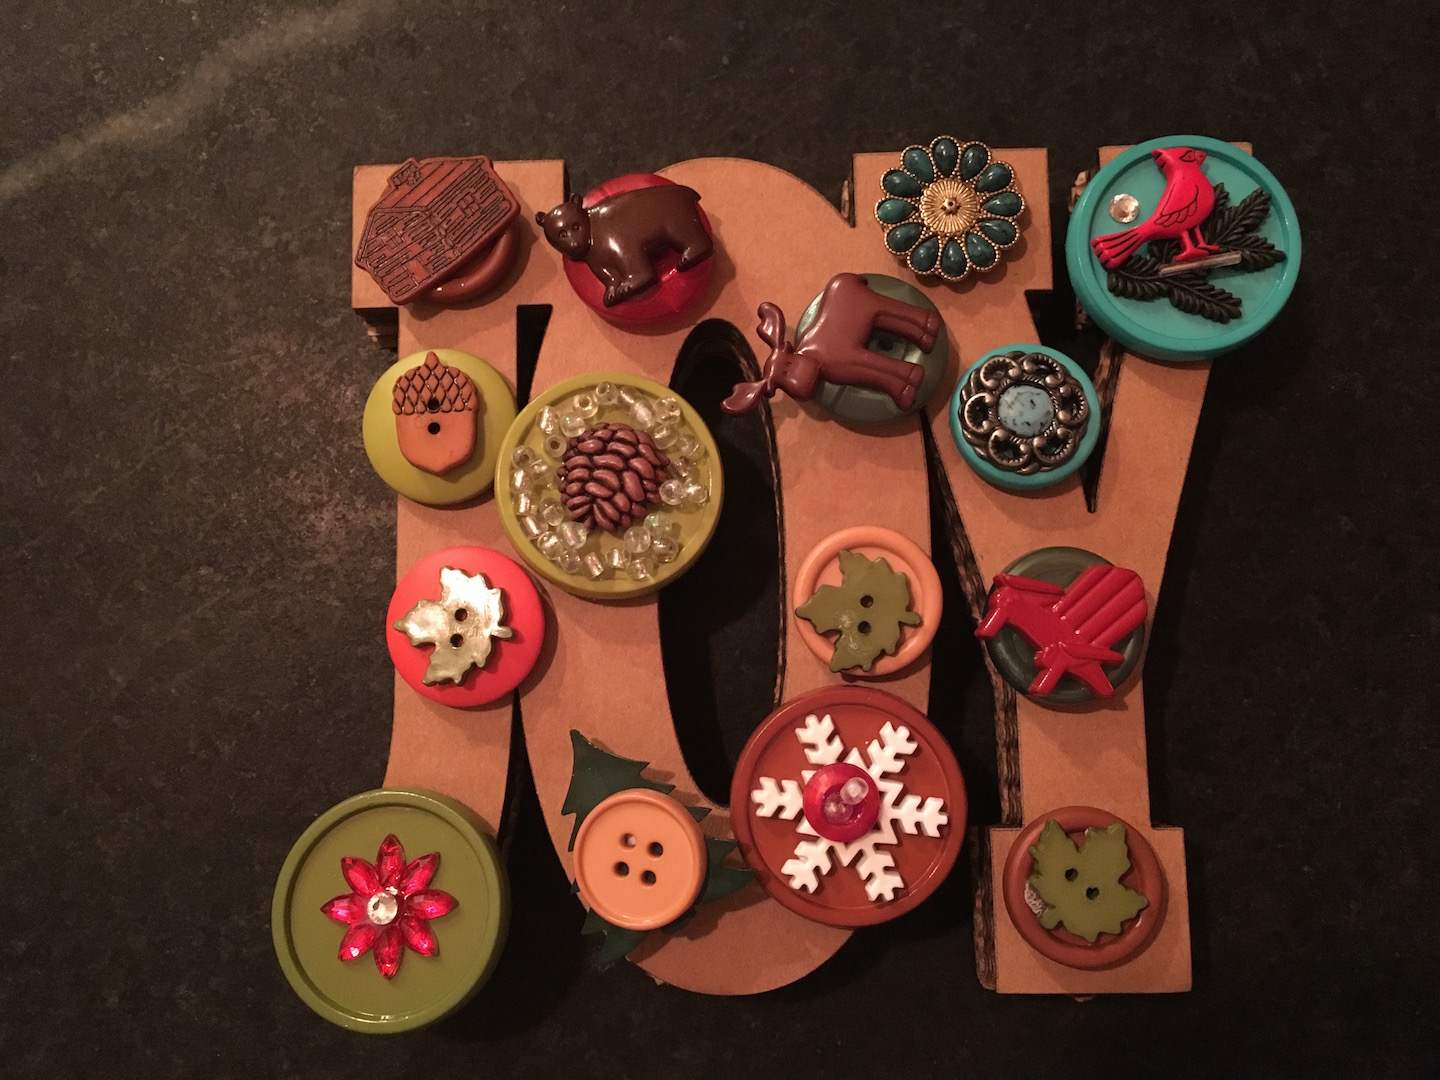
Cut buttons off of old clothes that you are throwing away (closet cleaning season), buy a box of vintage buttons while you are poking around those musty antique shops, take apart old costume jewelry and use the pieces to embellish your pins.
Let your creative brain go wild – you can stick almost anything to an XL quilting tack and transform it into a beautiful and useful push pin!


What brilliant ideas – I love them all! Those pushpins are adorable; I especially love the fabric chicken-printed one! Thanks for the inspiration to try something new and different… 🙂
Thanks for the great feedback! Send some photos when you make your own push pins 🙂